


Window tinting is not just about enhancing the appearance of a car; it serves practical purposes too. It protects passengers from harmful UV rays and adds a layer of privacy. But what happens when that tint starts to bubble or peel? For first-time car owners, this might seem like a daunting task.
This guide aims to simplify the process of window tint replacement. Whether dealing with wear and tear or just looking for an upgrade, this guide is tailored for those venturing into tint replacement for the first time.
Signs That Window Tint Needs Replacement
Knowing when to replace window tint is essential for maintaining a car’s appearance and function. Here are some common signs that it might be time for a replacement.
- Bubbling Or Peeling: Bubbling or peeling is often the first sign that window tint needs attention. Bubbles form when air gets trapped under the tint. Peeling can occur over time due to wear and tear. Both these issues can obstruct the view and make it look unsightly.
- Discolouration: Over time, sun exposure and other factors can lead to tint discolouration. If the tint turns purple or fades, it’s a clear indication of ageing. It affects both appearance and effectiveness in blocking UV rays.
- Scratches: Scratches might seem minor but can lead to bigger issues if ignored. They can grow and eventually ruin the tint. Scratches not only affect the aesthetics but can also compromise the protection offered by the tint.
Recognizing these signs is a step towards maintaining a vehicle in top condition. Early detection can save time and money in the long run, ensuring that the tint continues to offer its many benefits.
Tools Needed For Tint Replacement
Embarking on the task of replacing window tint requires certain tools. Having the right ones on hand ensures a smooth and efficient process.
- Heat Gun Or Hair Dryer: For softening and removing old tint.
- Utility Knife: To carefully cut the tint.
- Squeegee: To smooth out bubbles and wrinkles.
- Spray Bottle With Soapy Water: For cleaning and preparation.
- Lint-Free Cloth: To clean without leaving residues.
- Tape Measure: For precise measurements.
- Straight Edge Or Ruler: To guide cuts.
- Rubber Gloves: To prevent fingerprints and smudges.
Most of these tools are commonly found in local hardware or automotive stores. Some might even be in a typical household toolbox. Before starting the project, it’s wise to check the availability and perhaps seek advice from store staff on how to remove car window tint.
Step-By-Step Guide To Replacement
Replacing window tint is a process that requires patience and precision. Here’s a guide to help even a novice car owner through the process:
- Removal Of Old Tint:
- Use a heat gun or hair dryer to soften the old tint.
- Carefully peel off the tint starting from a corner.
- Remove any residual adhesive with a blade, taking care not to scratch the window.
- Clean the area thoroughly.
- Cleaning The Window:
- Spray the window with soapy water.
- Use a squeegee to remove water and debris.
- Wipe with a lint-free cloth to ensure no residues are left.
- Allow the window to dry completely.
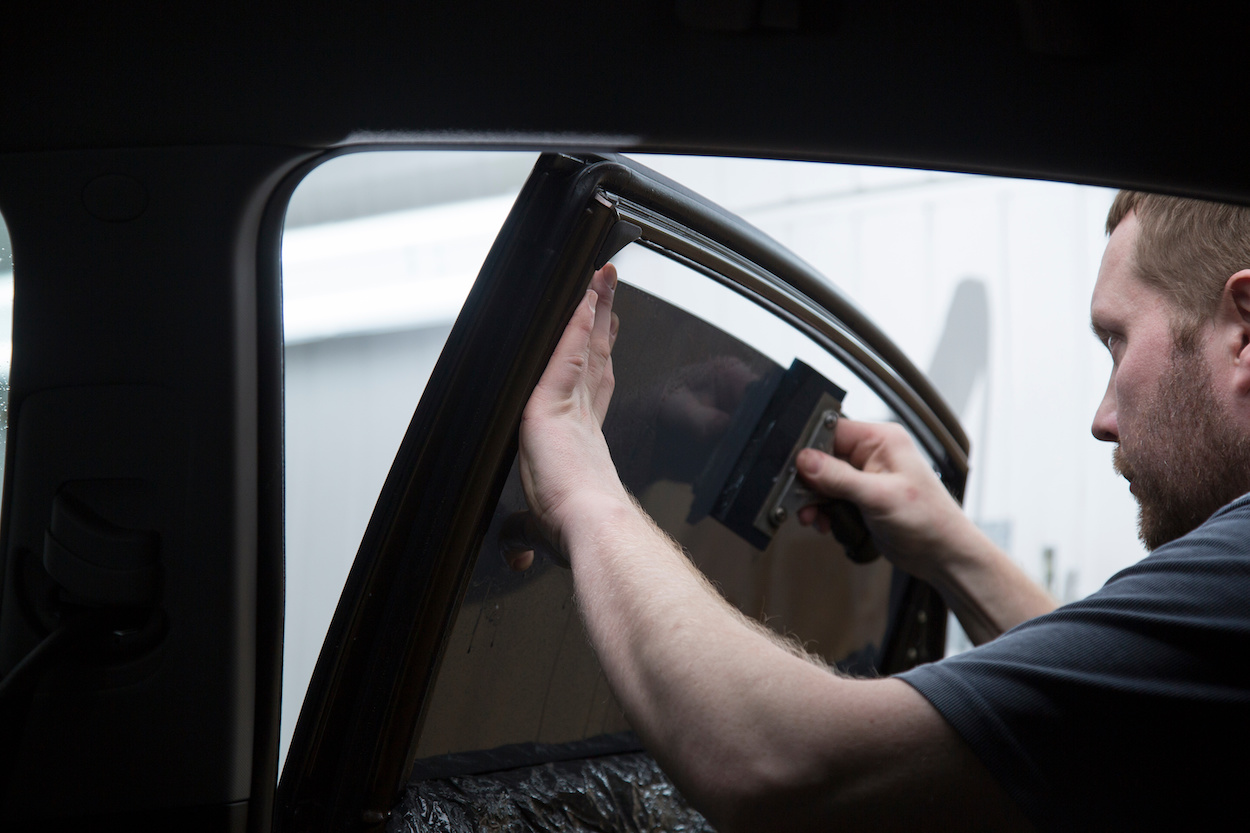
- Applying The New Tint:
- Cut the tint to size using a utility knife and a straight edge.
- Spray the window with soapy water.
- Remove the backing from the tint and apply it to the window.
- Use a squeegee to smooth out any bubbles.
- Trim excess tint if necessary.

Tinting of car windows.Window film for a car.
Here are some tips for smoothing the tint and adding the final touches to complete the replacement process:
- Work slowly and patiently to avoid wrinkles and bubbles.
- Use the squeegee with gentle pressure to smooth out the tint.
- Allow the tint to cure for the time recommended by the manufacturer.
- Inspect the job and make any final adjustments.
Whether it’s for aesthetics, privacy, or protection, following these steps ensures that the job is done correctly, giving the car a fresh and appealing look.
Care And Maintenance
Keeping window tints in optimal condition requires regular care and maintenance. Here’s what to keep in mind:
- Regular Checks
Inspect the window tint periodically for signs of wear or damage, such as peeling, bubbling, or scratches. Early detection can prevent minor issues from becoming major problems.
- Cleaning Methods
When it comes to cleaning methods for tinted windows, using a soft cloth or sponge is recommended. Harsh chemicals should be avoided; instead, opt for soapy water or cleaners specifically designed for tinted windows. Cleaning should be done in a side-to-side motion to prevent scratches. After cleaning, it’s essential to dry the windows with a lint-free cloth to avoid any residues.
- When To Seek Professional Help
If signs of damage persist or the tint begins to degrade significantly, it might be time to consult a professional. A seasoned expert can assess the condition and suggest the best course of action, whether it’s a minor repair or a full replacement.
Even for a first-time car owner, following these guidelines can make a significant difference in the appearance and functionality of the vehicle.
Conclusion
Window tint replacement doesn’t have to be a complex task for a first-time car owner. With the right tools and knowledge, it can become a successful project. Use this guide to not only enhance the appearance of your vehicle but also to protect and add value to your investment.